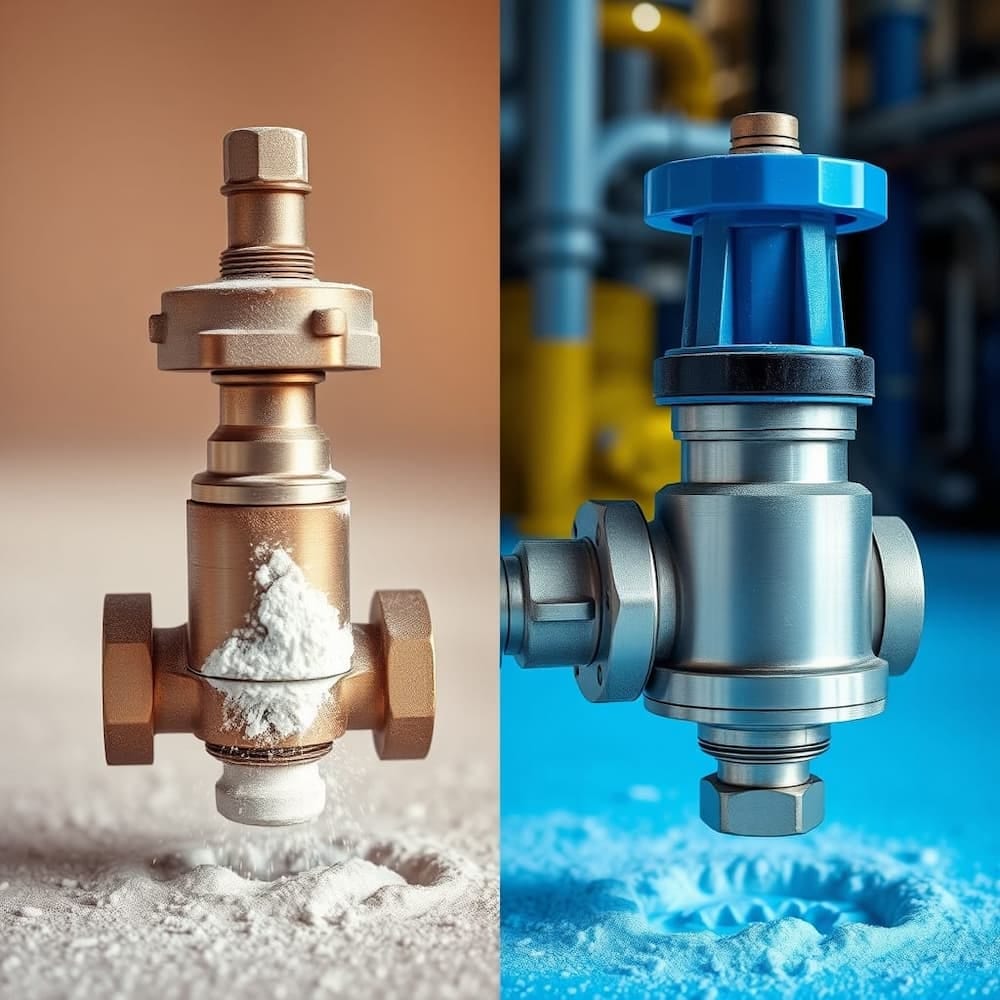
A diverter valve is easy to ignore while it works. The trouble starts when powder turns up in an outlet that should be closed, dust escapes from a joint, or the valve refuses to move when the control system tells it to.
Here is the short answer. Most leakage comes from worn or damaged sealing parts, material trapped where the valve should close, or an actuator that does not complete its full travel. Most jamming comes from powder build-up, foreign objects, wear on the moving element, or a weak or interrupted air or power supply. The sections below explain how to tell these apart and what sensible next steps look like.
Safety first: before you inspect anything
Do not work on a diverter valve while the line is running. Stop conveying, isolate the compressed air and electrical supply, release any trapped pressure, and follow your plant's lockout procedure. Never put hands or tools into a valve that could move, and take extra care if the powder is combustible or hazardous. Internal inspection, disassembly and repair should follow the manufacturer's manual and be done by trained personnel. This article covers general causes and checks, not step-by-step repair instructions.
Symptoms and likely causes at a glance
It helps to separate what you see from what may be causing it. One symptom can have several causes, so treat this table as a starting map rather than a diagnosis.
| What you notice | Possible causes | Sensible first checks |
|---|---|---|
| Powder reaches the closed outlet | Worn or damaged blade, flap or seat; material trapped where the valve closes; actuator not completing its travel | Check the position indicator and control signal, then inspect after safe isolation |
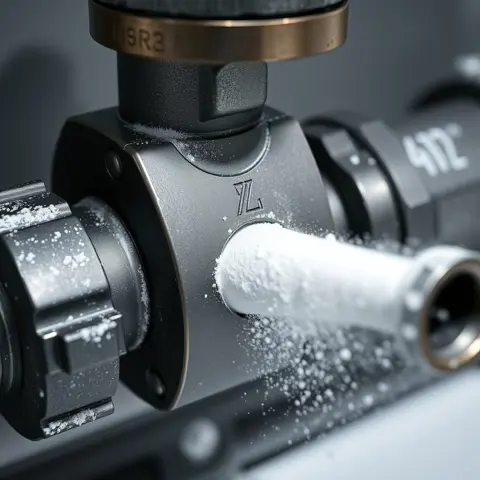
| Dust escapes at the shaft or body joints | Worn shaft sealing; loose or damaged gaskets and flange joints | Visual check of joints and shaft area after isolation |
| Weak conveying or pressure loss | Leakage across the valve, or air leakage elsewhere in the line | Check other components before blaming the diverter |
| Valve moves slowly or stops part-way | Build-up, a foreign object, low air pressure, or an actuator or solenoid fault | Compare air pressure with the specification and check the control signal |
| Valve will not move at all | Jammed element, seized shaft, or no air or power | Confirm utilities are present. Do not force it |
Why a diverter valve leaks
Leakage means material or air is getting where it should not. The usual suspects are these:
- Worn sealing surfaces. Abrasive powders gradually wear the blade, flap or seat, which stops the valve closing tightly.
- Material caught at the seal. A little powder packed where the element closes can keep it from seating fully.
- Incomplete travel. If the actuator is short on air pressure, or its travel or position settings are off, the valve may look closed from the control room and still be slightly open.
- Worn shaft sealing or damaged gaskets. These show up as dust at the shaft or flange joints rather than powder in the wrong outlet.
- Duty beyond the design. Pressure, temperature or material outside what the valve was specified for can shorten the life of seals and seats.
Before you decide the diverter is at fault, check other parts of the line. A worn rotary airlock valve or a loose joint can also cause air loss or weak conveying, and the symptoms sometimes look alike.
Why a diverter valve jams
Jamming usually comes down to something physical getting in the way, or too little force to move the element.
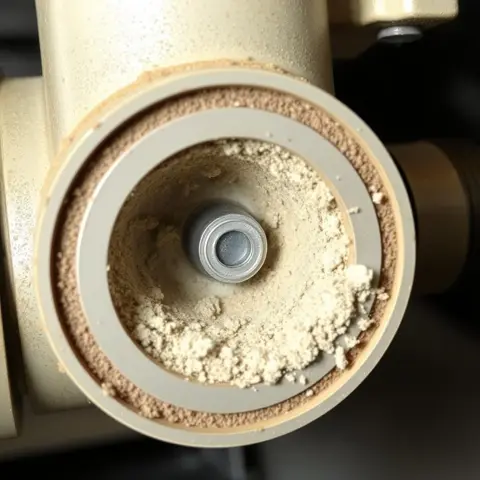
- Powder build-up. Fine, damp or sticky material can cake around the moving element and slow it down, and in time stop it.
- Foreign objects. Lumps, fasteners, packaging scraps or other debris can wedge between the element and the body.
- Wear or damage. A worn or bent element or shaft may bind, especially with abrasive material.
- Actuator and supply problems. Low or unstable air pressure, a faulty solenoid, or a loss of power can mimic a mechanical jam.
- Misalignment. Piping strain or uneven bolt tightening during installation can distort the body and make the element drag.
- A change in material or conditions. A new product, higher moisture or a different particle size can turn a trouble-free valve into a sticky one.
A sensible troubleshooting order
- Make the area safe. Stop the line, isolate air and power, release pressure and lock out.
- Note when the problem started. Did it appear suddenly, or build up over time? Did it follow a product change, a maintenance job or a new control setting?
- Check the outside first. Look at the air supply, actuator, tubing, solenoid, limit switches and position indicator for obvious faults.
- Check the joints. Look at flanges, gaskets and the shaft area for dust marks, loose fasteners or damage.
- Inspect inside only as the manual allows. Look for wear, build-up, debris and damage on the moving element and sealing surfaces.
- Review the material. Moisture, particle size, temperature and abrasiveness may have changed.
- Record what you find. A short log of symptoms, causes and fixes makes repeat problems much easier to spot.
What reasonable fixes look like
- Cleaning built-up material using the procedure recommended by the manufacturer.
- Replacing worn parts such as seals, gaskets, blades or seats with parts suited to the valve.
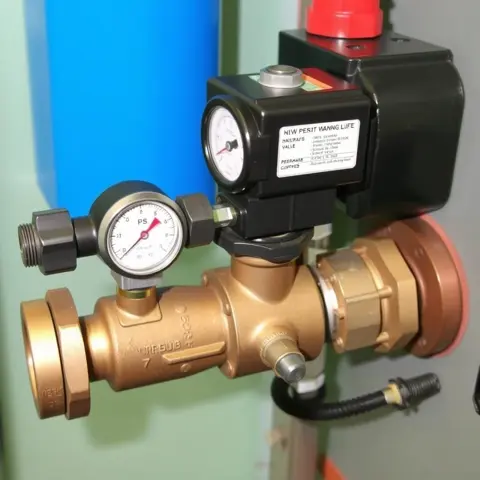
- Correcting the supply and settings: stable air pressure, clean and dry air, and properly set travel and position feedback.
- Fixing alignment and joints so the body is not under pipe strain.
- Choosing a better-suited build if the same problem keeps returning. The 3 way diverter valve page, for example, lists PU, ceramic and rubber lining options for abrasive material.
If repairs keep failing, the valve may simply be wrong for the duty. In that case, review the selection rather than repairing it again and again. The 2 way diverter valve and 4 way diverter valve pages show the other configurations to compare, and a slide gate valve upstream can make it easier to isolate flow during maintenance, where the layout allows.
Preventing the problem from coming back
Match the valve to the material and conveying method from the start. Keep compressed air supply clean and stable, and ask whether position feedback can be fitted so the control system knows the valve has fully moved. Build an inspection routine around your own material and duty, and ask the supplier for guidance. There is no universal interval that suits every powder and every plant.
Frequently asked questions
Why is powder getting into the closed outlet of my diverter valve?
The usual causes are a worn blade or seat, material trapped where the valve closes, or an actuator that does not finish its travel. Check the position indicator and air supply first, then inspect internally after safe isolation.
Why does my diverter valve jam only some of the time?
Intermittent jamming often points to changing conditions: higher moisture, a different product, fluctuating air pressure or occasional foreign objects. Note what was different on the days it happened.
Can I clear a jammed valve while the line is running?
No. Stop the line, isolate air and power, release pressure and follow your lockout procedure before touching the valve.
How do I tell whether the actuator or the valve is at fault?
Check the air pressure, control signal and whether the actuator completes its full travel. If the supply is correct and the actuator moves normally, the cause is more likely inside the valve. A trained technician should confirm this using the manufacturer's manual.
How often should a diverter valve be inspected?
It depends on the material, abrasiveness, switching frequency and operating conditions. Ask your supplier for a recommendation for your duty and adjust it from what your own inspections show.
Getting the right valve for your duty
Repeated leaking or jamming is often a sign that the valve and the duty do not quite match. If you are replacing a valve or reviewing your line, explore the diverter valve range from Saksham Industrial Engineers, then send your material, line and operating details through the contact page so a suitable configuration can be discussed.
